How to Create Print-Ready T-Shirt Designs (Without Ruining Your Prints)
How to Create Print-Ready T-Shirt Designs (Without Ruining Your Prints)
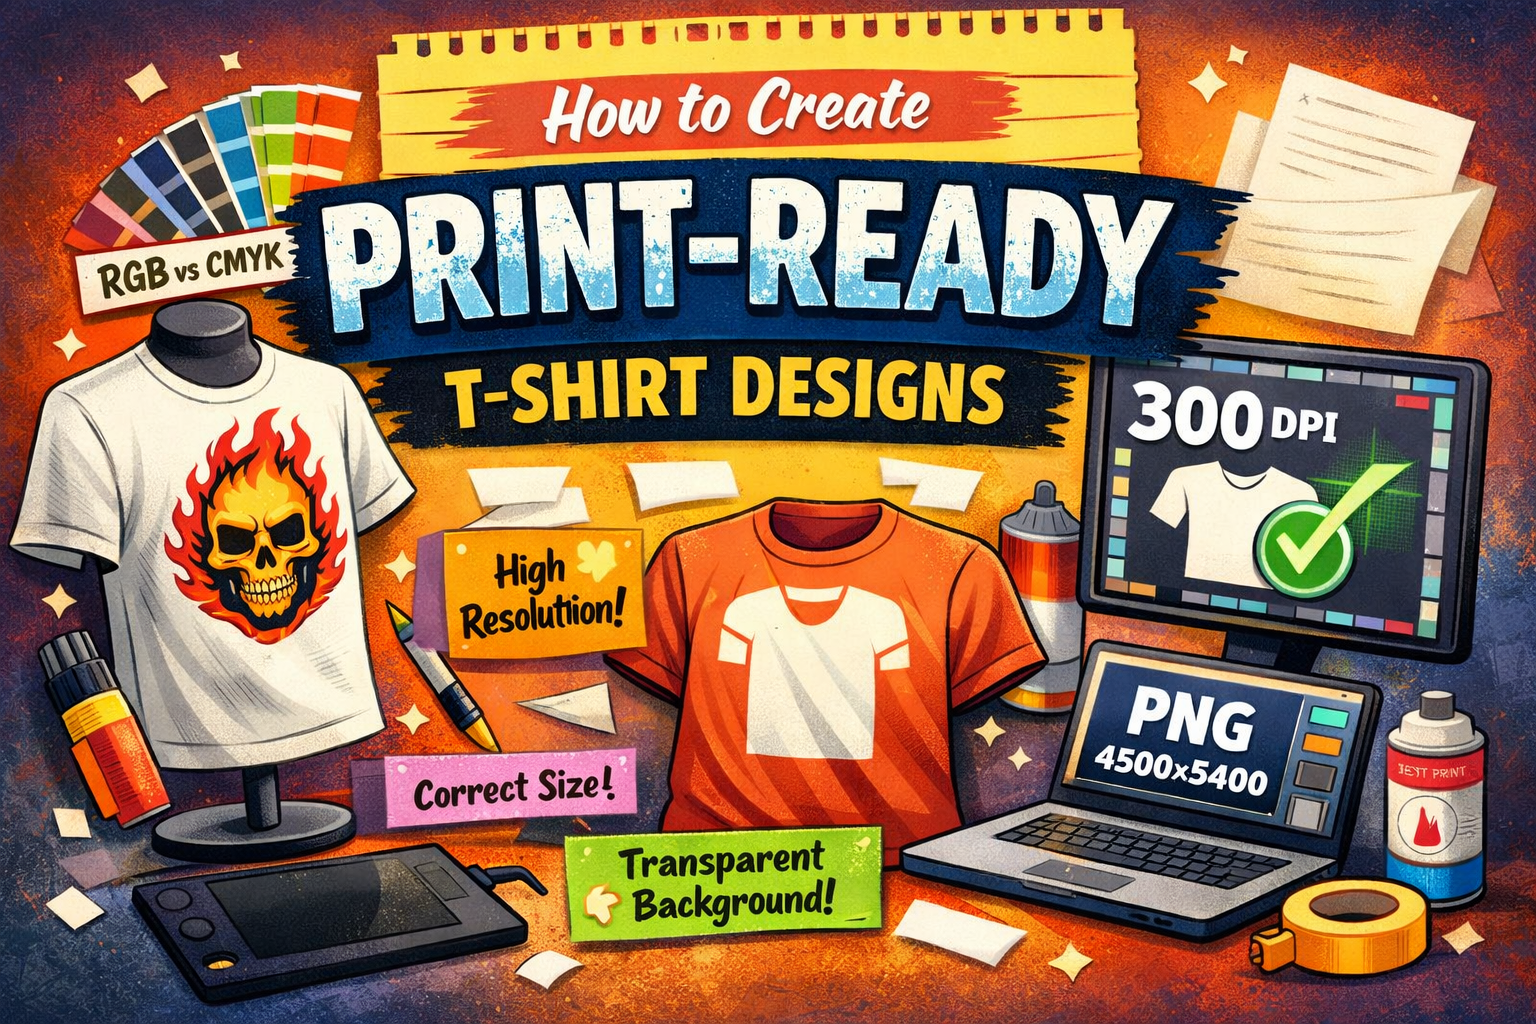
⚡ Quick Checklist — Print-Ready Requirements
Setting Value Canvas size 4500 × 5400 px Resolution 300 DPI Format PNG with transparent background Color mode RGB (most POD platforms convert internally) Safe zone Keep art 0.5” from edge on all sides Miss any one of these and your print suffers. Details and reasoning below. ↓
If you have ever uploaded a t-shirt design that looked amazing on screen but came out dull, blurry, or off-center in print, you are not alone.
Print-ready design is one of those things no one explains properly. Most tutorials either go way too technical or skip the parts that actually matter. This guide keeps it simple and practical.
Think of this as advice from someone who has messed up prints before and learned the hard way.
What “Print-Ready” Actually Means
A print-ready t-shirt design is a file that can be printed exactly as intended without edits, fixes, or quality loss.
That means:
- The size is correct
- The resolution is high enough
- Colors print close to what you expect
- The background behaves properly
- The design sits in the right spot on the shirt
If any one of these is wrong, your print suffers.
Step 1: Start With the Right Canvas Size
This is where most people go wrong.
For standard t-shirt printing, a safe canvas size is:
- 4500 × 5400 pixels
- 300 DPI
This covers almost all print on demand providers and keeps your design sharp even on large sizes.
If you start smaller and scale up later, quality drops. Always design big first.
Step 2: Set DPI to 300 (Always)
DPI stands for dots per inch. Screens use 72 DPI. Printers do not.
- 72 DPI looks fine on screen, prints blurry
- 300 DPI looks sharp in print
Before exporting, double-check your DPI settings. Many designs fail at this step alone.
Step 3: Use RGB, Not CMYK (Most of the Time)
This sounds backward but for print on demand, it works.
Most modern POD platforms prefer RGB files and handle conversion internally. If you force CMYK yourself, colors often end up worse.
Simple rule:
- Design in RGB
- Let the printer handle conversion
If your printer specifically asks for CMYK, follow their spec. Otherwise, stick with RGB.
Step 4: Keep Backgrounds Transparent
If your design has a white box behind it, that box will print.
Always export with a transparent background unless the design is meant to be a solid rectangle.
Best formats for transparency:
- PNG
- SVG (if supported)
Avoid JPG for t-shirts unless the background is intentional.
Step 5: Watch Your Colors (They Print Darker)
Colors on fabric always look slightly duller than on screen.
A few practical tips:
- Avoid very light colors on light shirts
- Increase contrast slightly before exporting
- Avoid neon colors unless you know the printer supports them
- Pure black should be RGB 0,0,0 not dark gray
If your design feels slightly bold on screen, it usually prints just right.
Step 6: Use Fonts That Print Cleanly
Thin fonts look cool on screen and disappear in print.
For t-shirts:
- Avoid ultra thin strokes
- Avoid super small text
- Test readability from 6 feet away
If you have to squint on your screen, it will not print well.
Step 7: Place the Design Correctly
Standard front chest placement:
- About 2.5 to 3 inches below the collar
- Centered horizontally
Oversized designs are popular, but only if your canvas supports them. Always preview placement using a mockup before publishing.
Step 8: Export in the Right Format
Best export settings for t-shirts:
- PNG
- 300 DPI
- Transparent background
- Max quality
Do not compress aggressively. File size is less important than print clarity.
Common Mistakes That Ruin Prints
Avoid these and you are already ahead of most beginners.
- Designing at 1080 × 1080 and scaling up
- Using screenshots as artwork
- Forgetting transparency
- Relying on phone previews
- Not checking contrast on dark shirts
Final Tip: Always Test Before Scaling
Before running ads or ordering bulk:
- Order one sample
- Check colors under normal light
- Feel the print texture
- Wash it once
One test shirt can save you dozens of bad reviews.
Skip the Setup — Get Print-Ready Files Instantly
If you are starting from a blank canvas, MerchBanao's AI design generator handles the hard parts: 4500 × 5400 px canvas, 300 DPI output, transparent PNG export, and background removal — all built in.
- AI T-Shirt Design Generator → — prompt to print-ready art in seconds
- Print-Ready AI Designs → — 300 DPI exports ready for any POD platform
- POD AI Design Tool → — niche-specific designs for print-on-demand sellers