Printify Design Tool: What to Use and When
Printify Product Creator already includes AI generation, layers, background removal, product placement, and mockups. MerchBanao can help create the core 4200×4800 artwork, but Printify remains the source of truth for product-specific dimensions and final placement.
#Printify Design Tool: The Short Answer
Printify already has a capable built-in design tool. Its Product Creator lets you add text, work with layers, remove backgrounds, generate images with AI, position artwork on a product, and preview mockups. If your priority is accurate product placement, Printify should be the final stop in the workflow.
MerchBanao is useful earlier in the process. It offers a focused prompt-to-shirt canvas for generating a graphic, adding editable text, removing a background, and exporting a 4200 × 4800 PNG. You can then upload that file to Printify and adapt it to the selected product's print area.
So this is not a case where one tool replaces the other. Printify is the product-specific production workspace. MerchBanao is an optional external artwork workspace.
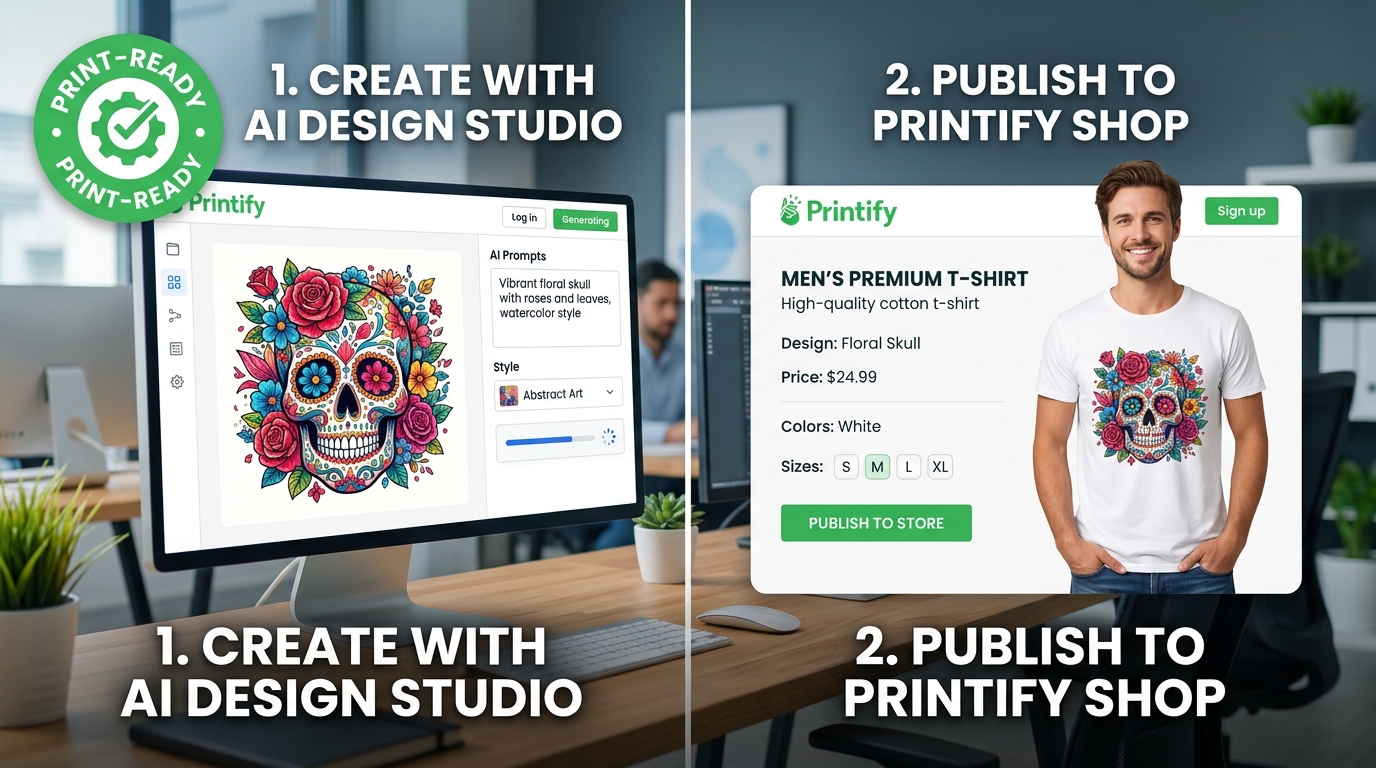
#Printify Product Creator vs MerchBanao
Choose the tool by the job in front of you. Printify has the stronger connection to products, print areas, mockups, and store publishing. MerchBanao has a simpler, shirt-first editing flow when you want to develop the core graphic away from a product catalog.
| Task | Printify Product Creator | MerchBanao |
|---|---|---|
| Generate an image with AI | Built in | Built in |
| Add and arrange text | Built in | Built in |
| Work with layers | Supports up to 20 layers | Movable image and text layers |
| Remove an image background | Built in | Built in |
| Match a specific product print area | Yes | No — check after upload |
| Create product mockups | Product-specific mockups | White and black shirt previews |
| Publish to a connected store | Built into the Printify workflow | No |
| Current export canvas | Depends on the product workflow | 4200 × 4800 PNG |
Features, limits, and plans change. Confirm Printify's current tools in Product Creator and check the current MerchBanao editor before choosing a workflow.
#There Is No Universal Printify Design Size
A fixed “Printify size” such as 4500 × 5400 pixels is not reliable guidance. Printify's official design-dimensions guide says the requirements vary by product, print area, and sometimes the selected size. The dimensions shown in the product's Upload section are the ones that matter.
Printify generally recommends high-resolution artwork, typically 300 DPI, but DPI is not a magic quality switch. The real pixel dimensions and the physical print area have to work together. Simply changing a file's DPI metadata does not add detail.
MerchBanao's 4200 × 4800 canvas has a 7:8 aspect ratio. It may fit some apparel print areas well and require padding, cropping, or scaling for others. Do not stretch it to fill a differently shaped print area; keep the aspect ratio locked and use Printify's quality indicator and preview.
- Choose the exact product and print provider first
- Open the relevant print area in Product Creator
- Read the pixel and resolution guidance shown for that product
- Upload the artwork and keep its proportions locked
- Scale and position it inside the product's safe area
- Check every enabled product size and color before publishing
#A Practical MerchBanao-to-Printify Workflow
Start with a product, not just a prompt. A centered chest graphic, a mug wrap, and an all-over-print garment use very different shapes. Look at the target print area first, then build a composition that can live inside it.
Printify's Product Creator guide explains the product-side workflow: upload or generate artwork, arrange layers, position the design, and review the mockup. Treat that preview as a proofing step, not decoration.
- Select the Printify product, provider, and print area
- Note the recommended dimensions and the shape of the available area
- Write a brief covering audience, subject, style, composition, colors, and garment color
- Generate a few directions; reject broken lettering, anatomy, and muddy detail
- Add exact wording as editable text when spelling matters
- Remove the background only when the design should sit directly on the product color
- Export the 4200 × 4800 PNG and upload it to Product Creator
- Position, scale, preview, and order a sample before selling at volume
#What Printify's AI Image Generator Actually Does
Printify does have an AI image generator. Its current AI Image Generator guide says the tool creates 1024 × 1024 images and automatically upscales them for production. The same guide currently describes a daily allowance of 15 free generations.
Those numbers are plan and product details, not timeless guarantees. Check the interface and current help page when the limit affects your production plan.
A generated image still needs human review. Look closely at hands, small objects, repeated patterns, lettering, edge cleanup, and unintended visual references. AI can produce a plausible thumbnail that falls apart at print size.
#Rights Checks Before You Publish
Access to a generator does not clear a design for sale. Printify's AI guide tells users not to infringe intellectual-property rights. Avoid brand names, logos, protected characters, celebrity likenesses, copied artwork, song lyrics, and prompts designed to imitate a living artist.
Search important phrases and brand identifiers in the USPTO trademark search, then check the markets where you plan to sell. A search is useful due diligence, not a legal opinion.
Keep a small evidence folder for each design: prompts, source files, licences, editing notes, search screenshots, and sample approvals. That record is more useful than a blanket claim that every AI output comes with unrestricted commercial rights.
How It Works
A browser workflow for an artwork draft
Prompt it
Describe your vision in text.
Refine it
Tweak colors, layout and text.
Export and check
Download a 4200 × 4800 PNG, then check the product template.
Frequently Asked Questions
Everything you need to know about Printify design tool
Related Tools & Guides
Everything you need to design, launch & sell
POD AI Design Tool
An artwork workflow for POD product templates
Print-on-Demand Design
Create artwork, check templates, and sample the product
Amazon Merch Design Size
Prepare 4500×5400 artwork without stretching the source file
AI Design Tool for Printful
Prepare external artwork for Printful product templates
Print-on-Demand Business Guide
Plan a POD launch without holding inventory
Printify vs Printful
Compare the two biggest POD platforms — pricing, quality, integrations
Ready to turn this guide into
a print-ready design?
Then fit and proof the export in Printify Product Creator